
WORKSPACE SETUPS · UAE RENTERS
Home Office Cable Management: A Guide for UAE Renters
Plan a reversible cable route, choose suitable fixings and keep your workspace ready for moving day.
By WorkspaceWorth · Research updated:
Affiliate disclosure: As an Amazon Associate I earn from qualifying purchases. WorkspaceWorth may earn a commission when you buy through links on this page, at no extra cost to you. Read the affiliate disclosure.
Quick Answer
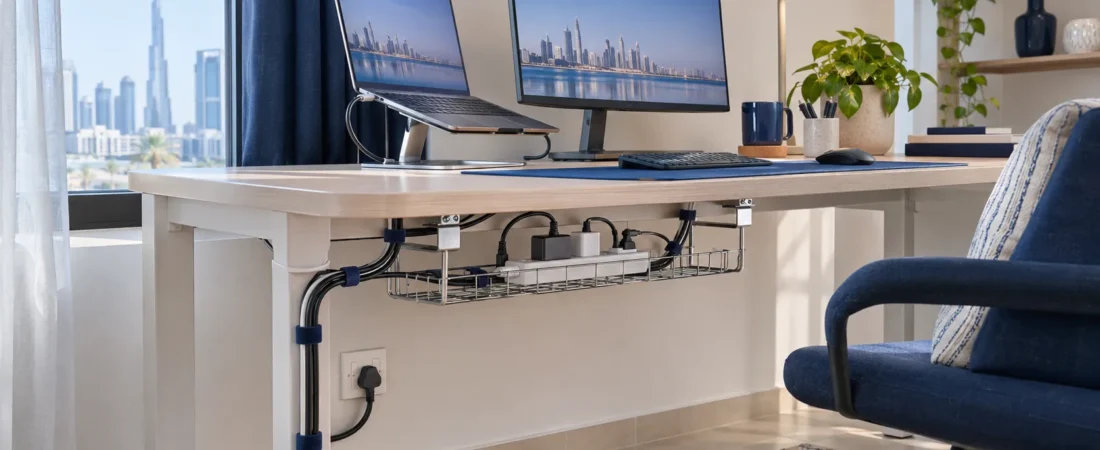
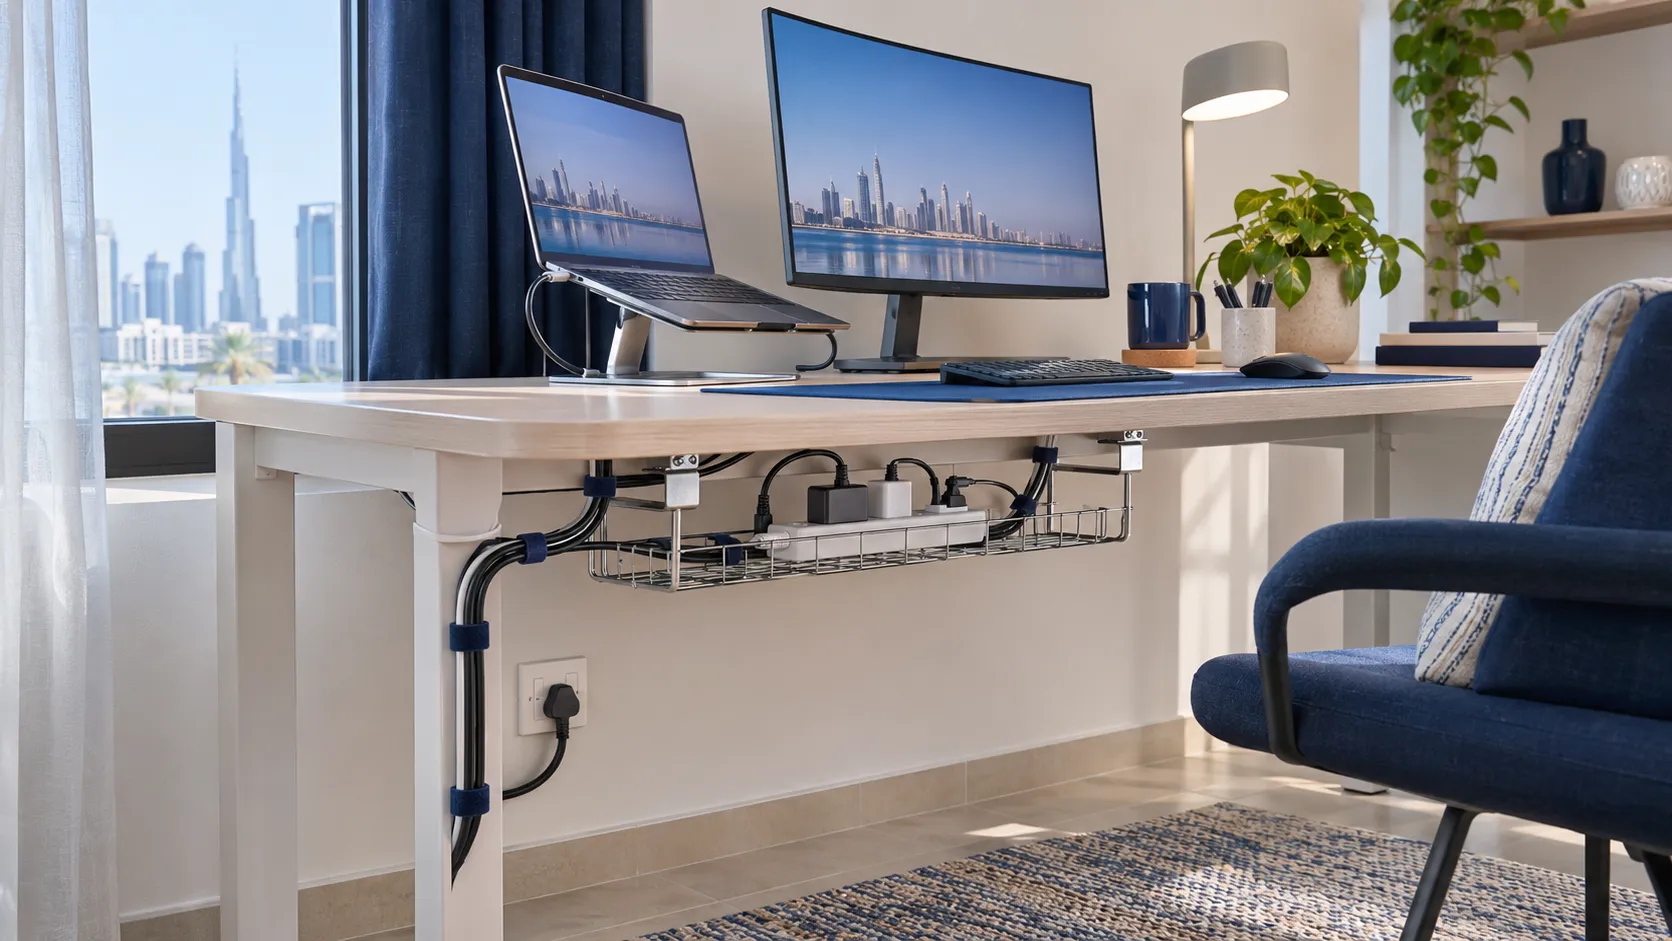
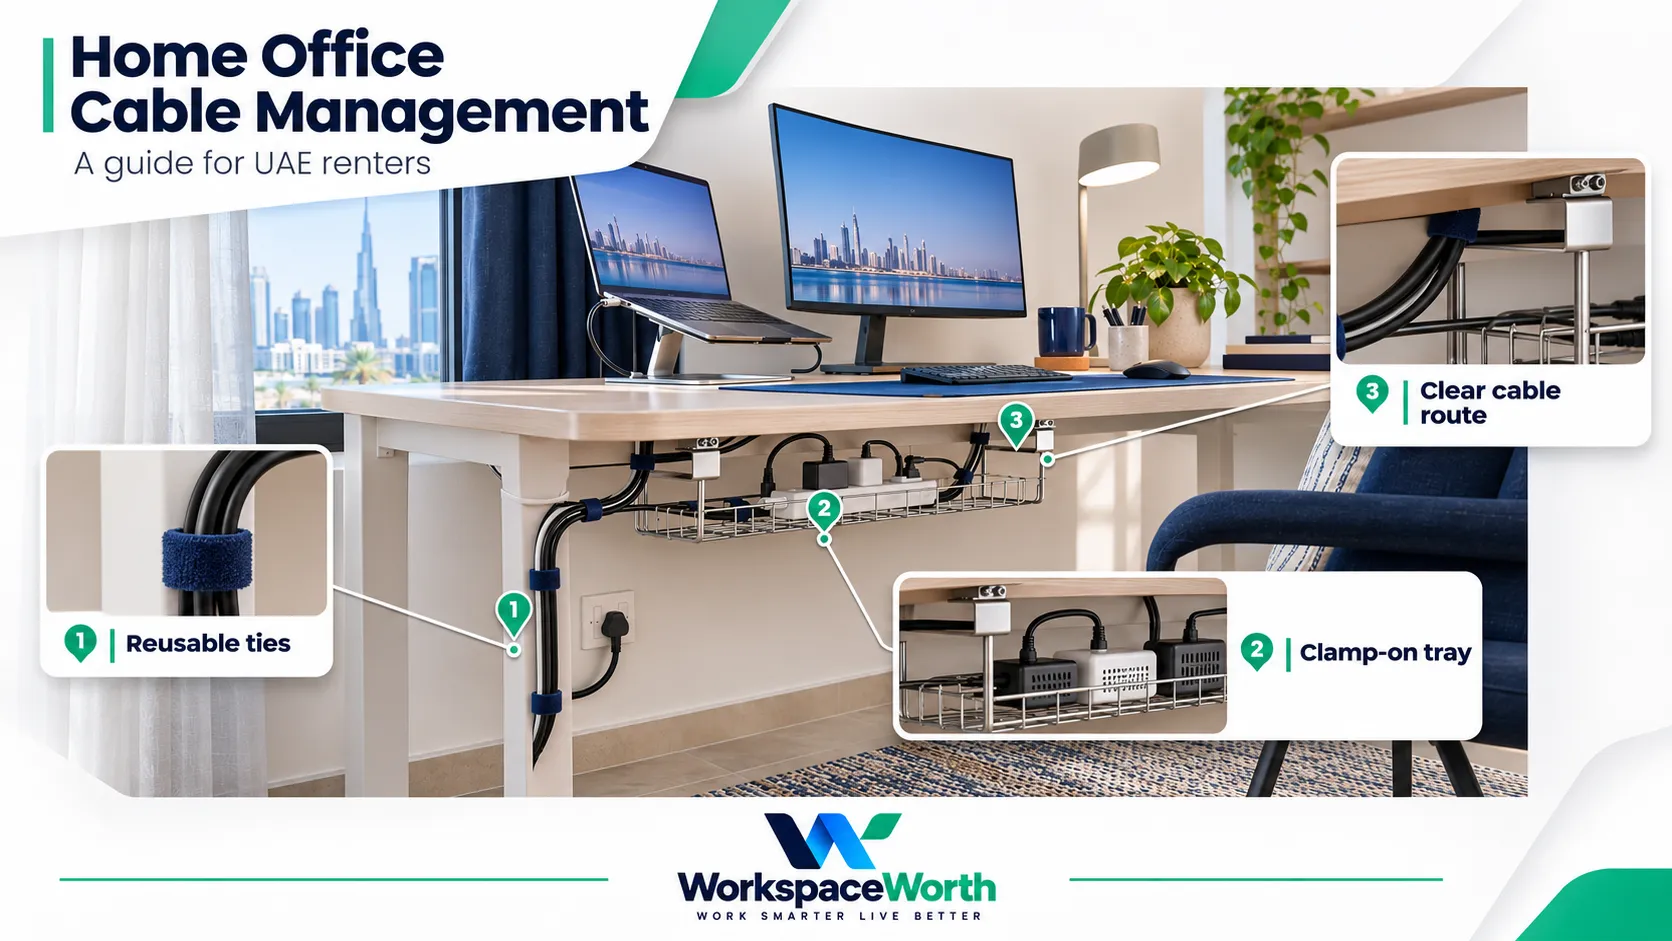
Start by mapping each cable route, then remove unused leads and bundle the rest with reusable ties. Lift the power strip into a clamp-on tray if your desk fits, run one tidy drop to the socket, and use adhesive clips only on checked surfaces. Keep the removal instructions, because no method guarantees zero marks.
Good desk cable management in a rented home comes down to reversible fixings. Ties, trays and clips can usually be removed when you move, but each has limits. This guide covers the order of work, the checks to make before buying, and how to take everything down again.
It is based on desk research dated 5 November 2026. WorkspaceWorth did not test these products.
Home office cable management: compare the options
| Problem | Suitable accessory | Installation | Check first | Limitations |
|---|---|---|---|---|
| Loose cables tangle together | Hook-and-loop ties | Wraps around cables | Slack at each plug | Holds cables to each other, not to the desk |
| Power strip and adapters sit on the floor | Clamp-on tray | Clamps to the desk edge or frame | Desk thickness, underside clearance, total weight | Clamps can mark a finish and use rear-edge space |
| Several cables drop to the floor | Zip sleeve | Zips around cables | Combined thickness of your cables | Capacity depends on cable diameter, so a stated cable count is only a guide |
| Charging cables slip behind the desk | Adhesive clips | Adhesive base | Smooth, clean surface and slot size | Removal guidance may be missing from the listing |
| Cables need holding along furniture | Cable holders with compatible stretch-release strips | Adhesive strip | Surface type and room to remove the strip | Surface limits vary, so read the pack |
Before you start
Measuring first helps avoid buying accessories that do not fit. Check these four things first.
The desk
- Thickness: measure the desktop where a clamp would sit.
- Underside: look for crossbars, drawers or frames that block a clamp.
- Edge shape: a clamp needs a firm, flat edge to grip. Check rounded or thin edges carefully.
- Existing clamps: a monitor arm may already use the rear edge.
The surfaces
Note whether each surface is painted, wood, laminate, metal, glass, vinyl or wallpaper. Adhesive products often treat these differently, and the instructions for one product do not apply to another.
The cables
Unplug nothing yet. List every device, its cable and where it plugs in, including chargers you rarely use.
The rental conditions
Check your tenancy contract, and get appropriate permission before altering the property, for example by drilling. Ties, sleeves and accessories that attach only to your own furniture do not normally alter the property. If the desk came with the home, treat it as the landlord’s property. This is general information, not legal advice.
Home office cable management in 8 steps
- Map the routes. Sketch the desk, the nearest socket and the path each cable takes. Aim for one route from the desk to the wall.
- Switch off and remove extras. Turn devices off, unplug them and take away any cable you no longer use. Inspect the rest as you go.
- Label both ends. Use small tags or removable labels, so you can trace a cable without pulling the whole bundle apart.
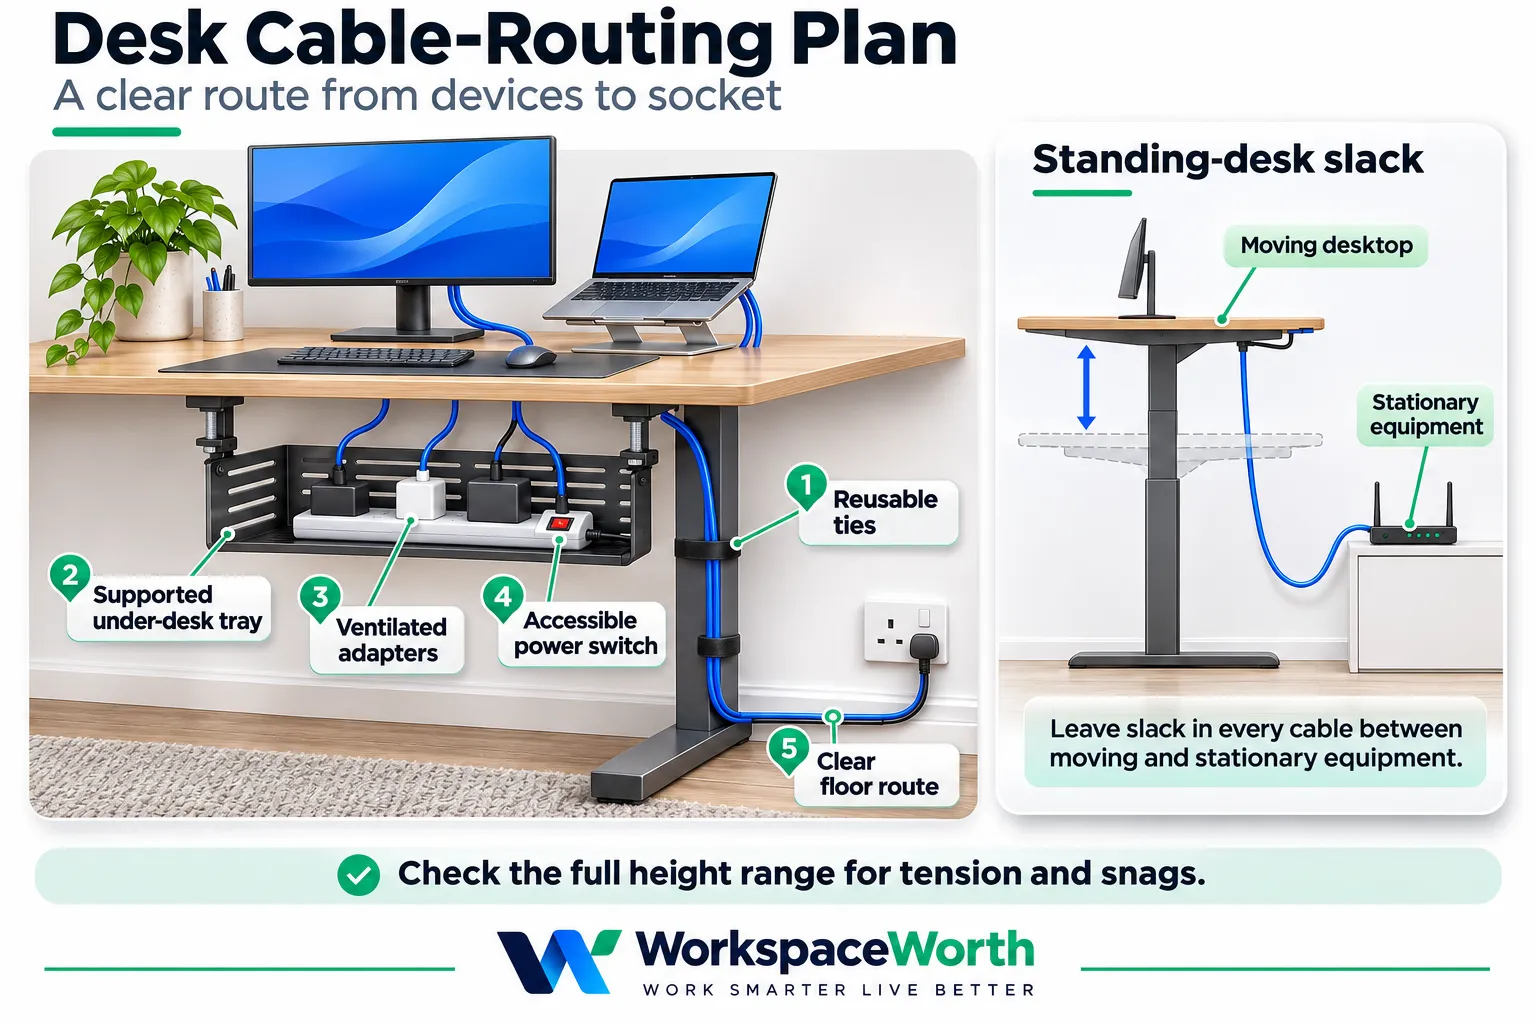
- Fit the tray. Clamp it where it clears your knees and any monitor-arm clamp. Rest the power strip in the tray, because a strip should not hang in mid-air by its cords.
- Group by destination. Bundle cables that travel together with hook-and-loop ties. Keep the ties snug rather than tight.
- Build the single drop. Run the remaining cables down the desk leg or wall side, inside a zip sleeve if you want them covered.
- Add clips last. Fix clips only for cables you handle daily, such as a phone charger.
- Test the setup. Pull the chair in, stretch your legs and reach the power switch. Then move the monitor and laptop through their usual positions.
Power checks
Cable tidying often brings a power strip closer to other equipment, so check it at the same time.
- Rating: read the label and do not exceed it. The US Fire Administration advises against overloading strips and recommends strips with internal overload protection.
- No chains: plug the strip directly into a wall socket. Interconnected strips and extension cords can overload and overheat.
- Ventilation: Apple advises using power adapters in a well-ventilated area. Keep adapters out of tightly packed sleeves and bundles, and follow each device’s own instructions.
- Damage: replace cracked or worn cords rather than repairing them yourself, as the US Fire Administration advises.
- Hidden cords: Sharjah Civil Defence has warned against hiding cords under carpets, and named worn cables and overloaded sockets as fire risks.
- Fixed wiring: this guide does not cover mains wiring. Leave sockets and fixed wiring to a qualified electrician, with your landlord’s agreement.
Three accessory examples
These examples illustrate no-fixing, clamp-on and adhesive methods. Product details come from the supplied research dated 5 November 2026 and linked listings; availability and sellers can change. The listings were checked using a Dubai delivery location in that research.
01 VELCRO Brand One-Wrap Thin Ties
Reusable cable ties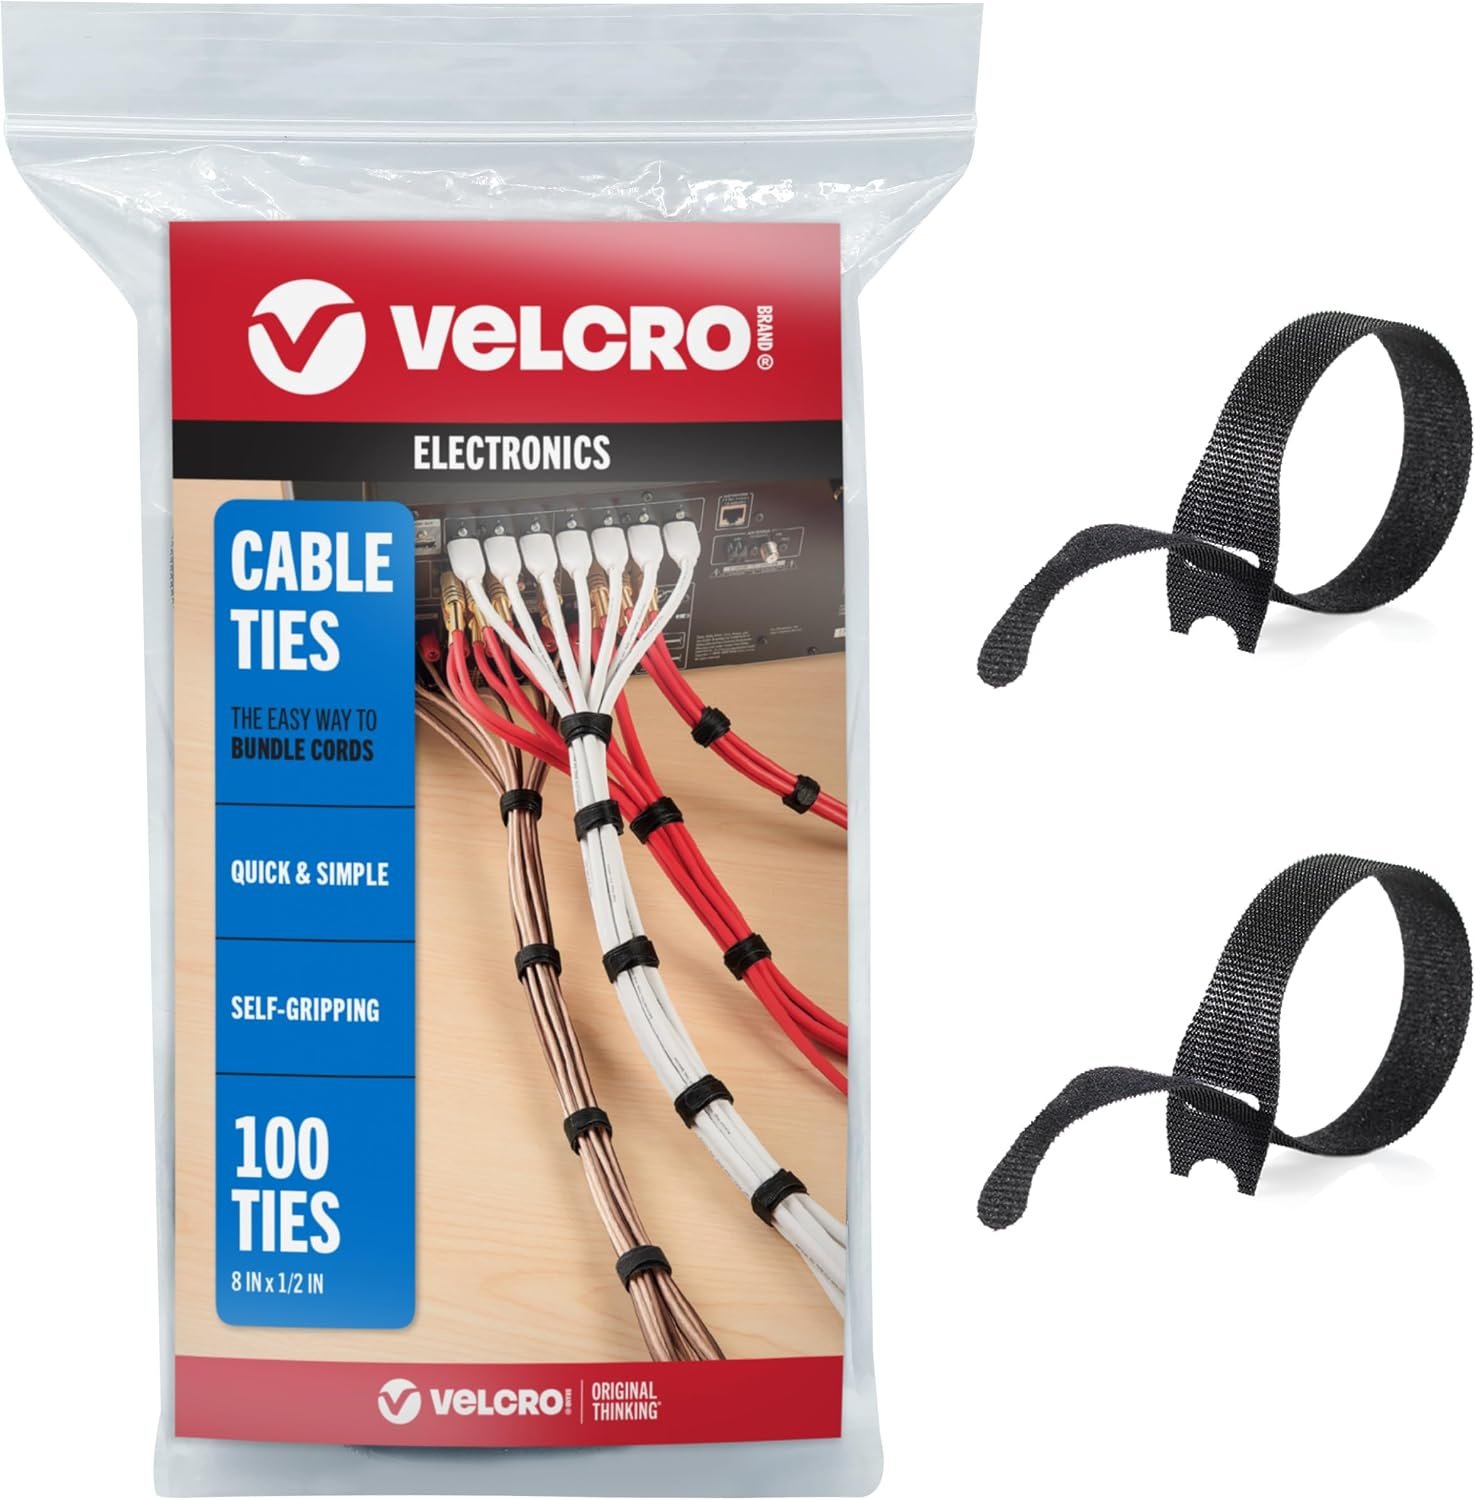
Pack of 100 nylon ties; each 20.3 cm long and about 13 mm wide.
Key features
- Reusable hook-and-loop fastening
- 20.3 cm × about 13 mm per tie
- No adhesive or furniture mounting
A simple starting point for bundling cables without attaching anything to furniture. Keep ties snug rather than tight.
Loose cable bundles
Check current details on Amazon.ae
Advantages
- Reusable and easy to reposition
- No adhesive or furniture mounting
Limitations
- Holds cables together rather than supporting them from the desk
- A pack of 100 may exceed one desk’s needs
02 Cinati Under Desk Cable Management Tray
Clamp-on cable tray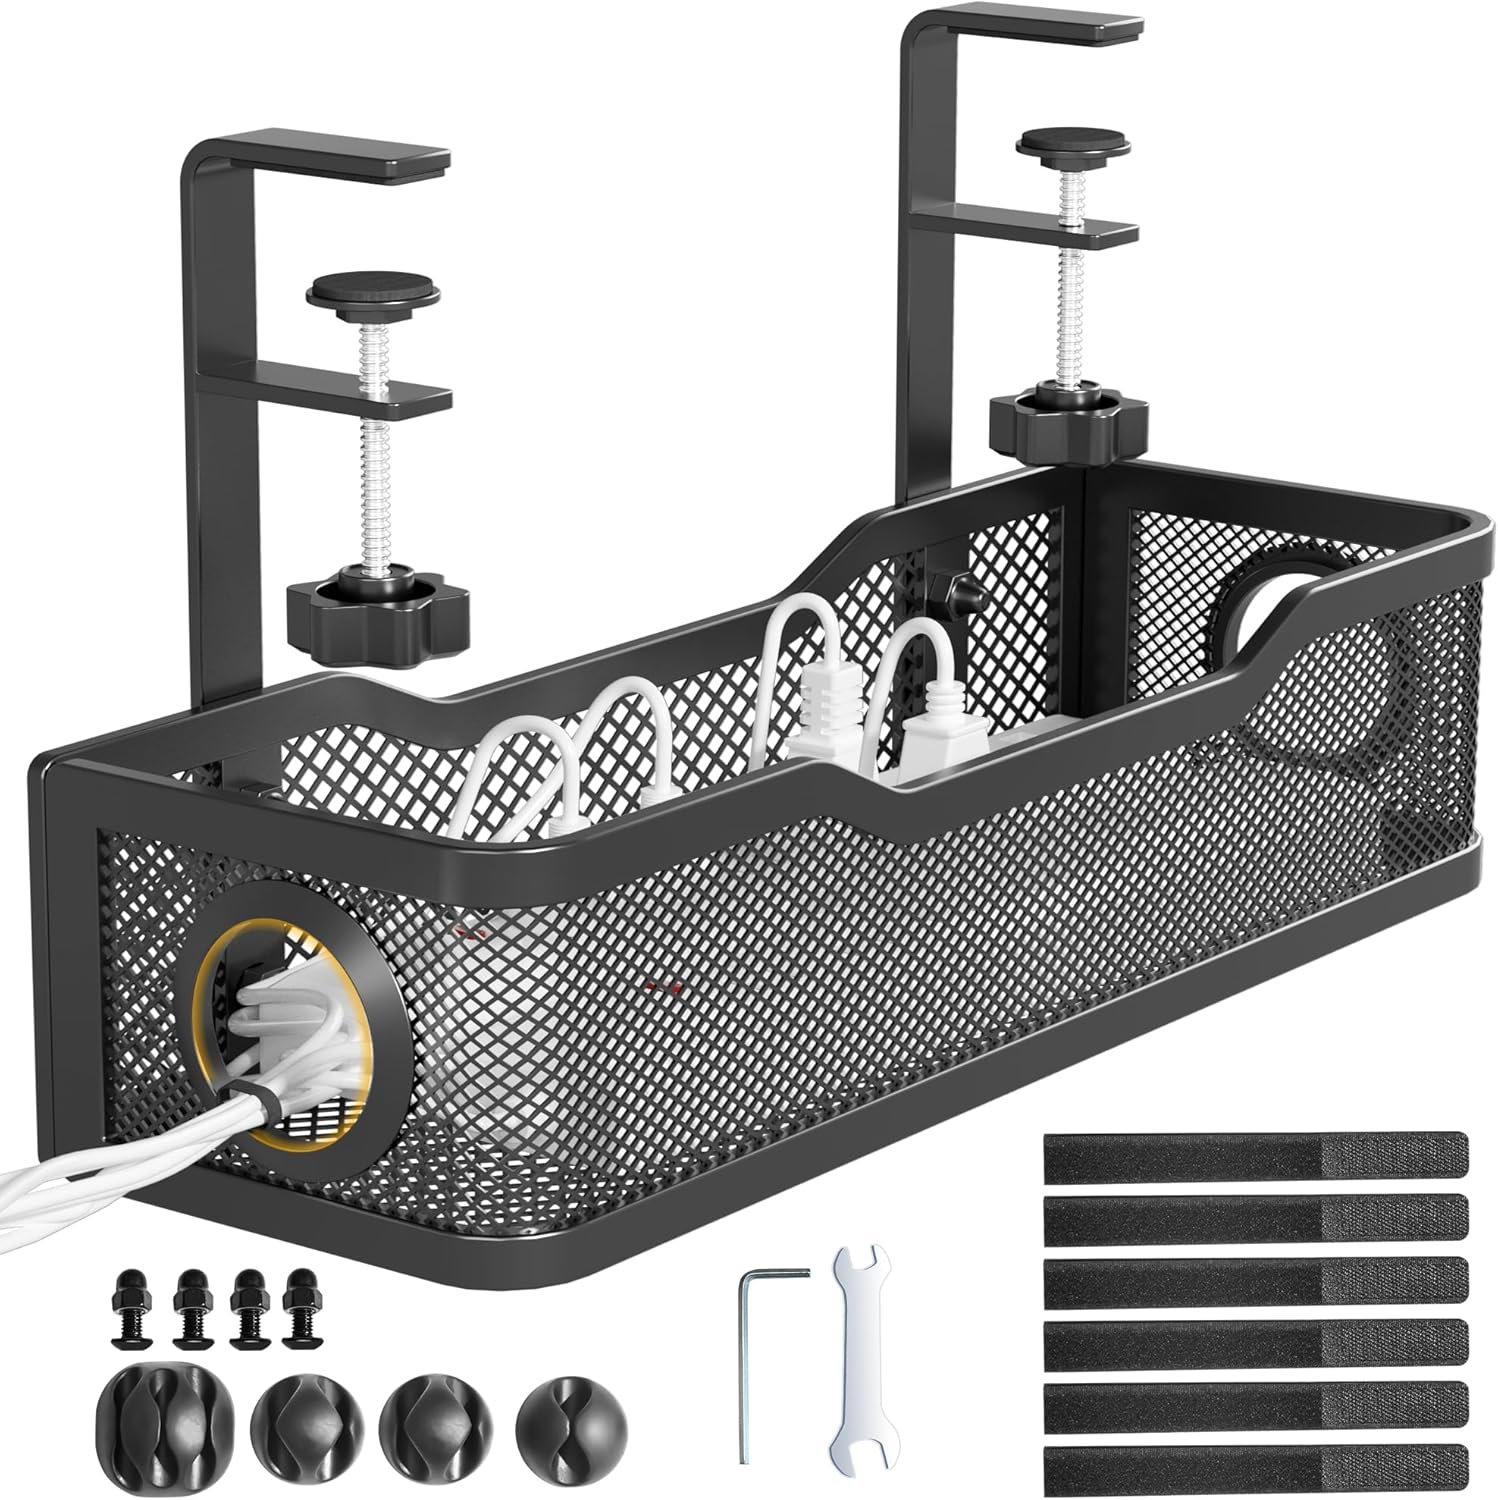
Metal tray about 34 × 11.7 × 7.9 cm; desk thickness about 10–61 mm; protective mats, four clips and six ties stated in the listing.
Key features
- Clamp-on installation without drilling
- Open metal tray
- About 4.5 kg capacity stated by the listing; not manufacturer-confirmed
A clamp-on option for supporting a power strip where the desk construction and clearances fit. Check the combined load before use.
Compatible desk edges
Check current details on Amazon.ae
Advantages
- Clamp-on installation avoids drilling
- Open tray allows access to the power strip
Limitations
- Clamps may mark finishes and compete with a monitor arm
- Stated load capacity has not been confirmed with the manufacturer
03 UGREEN Cable Clips 65995
Adhesive cable clips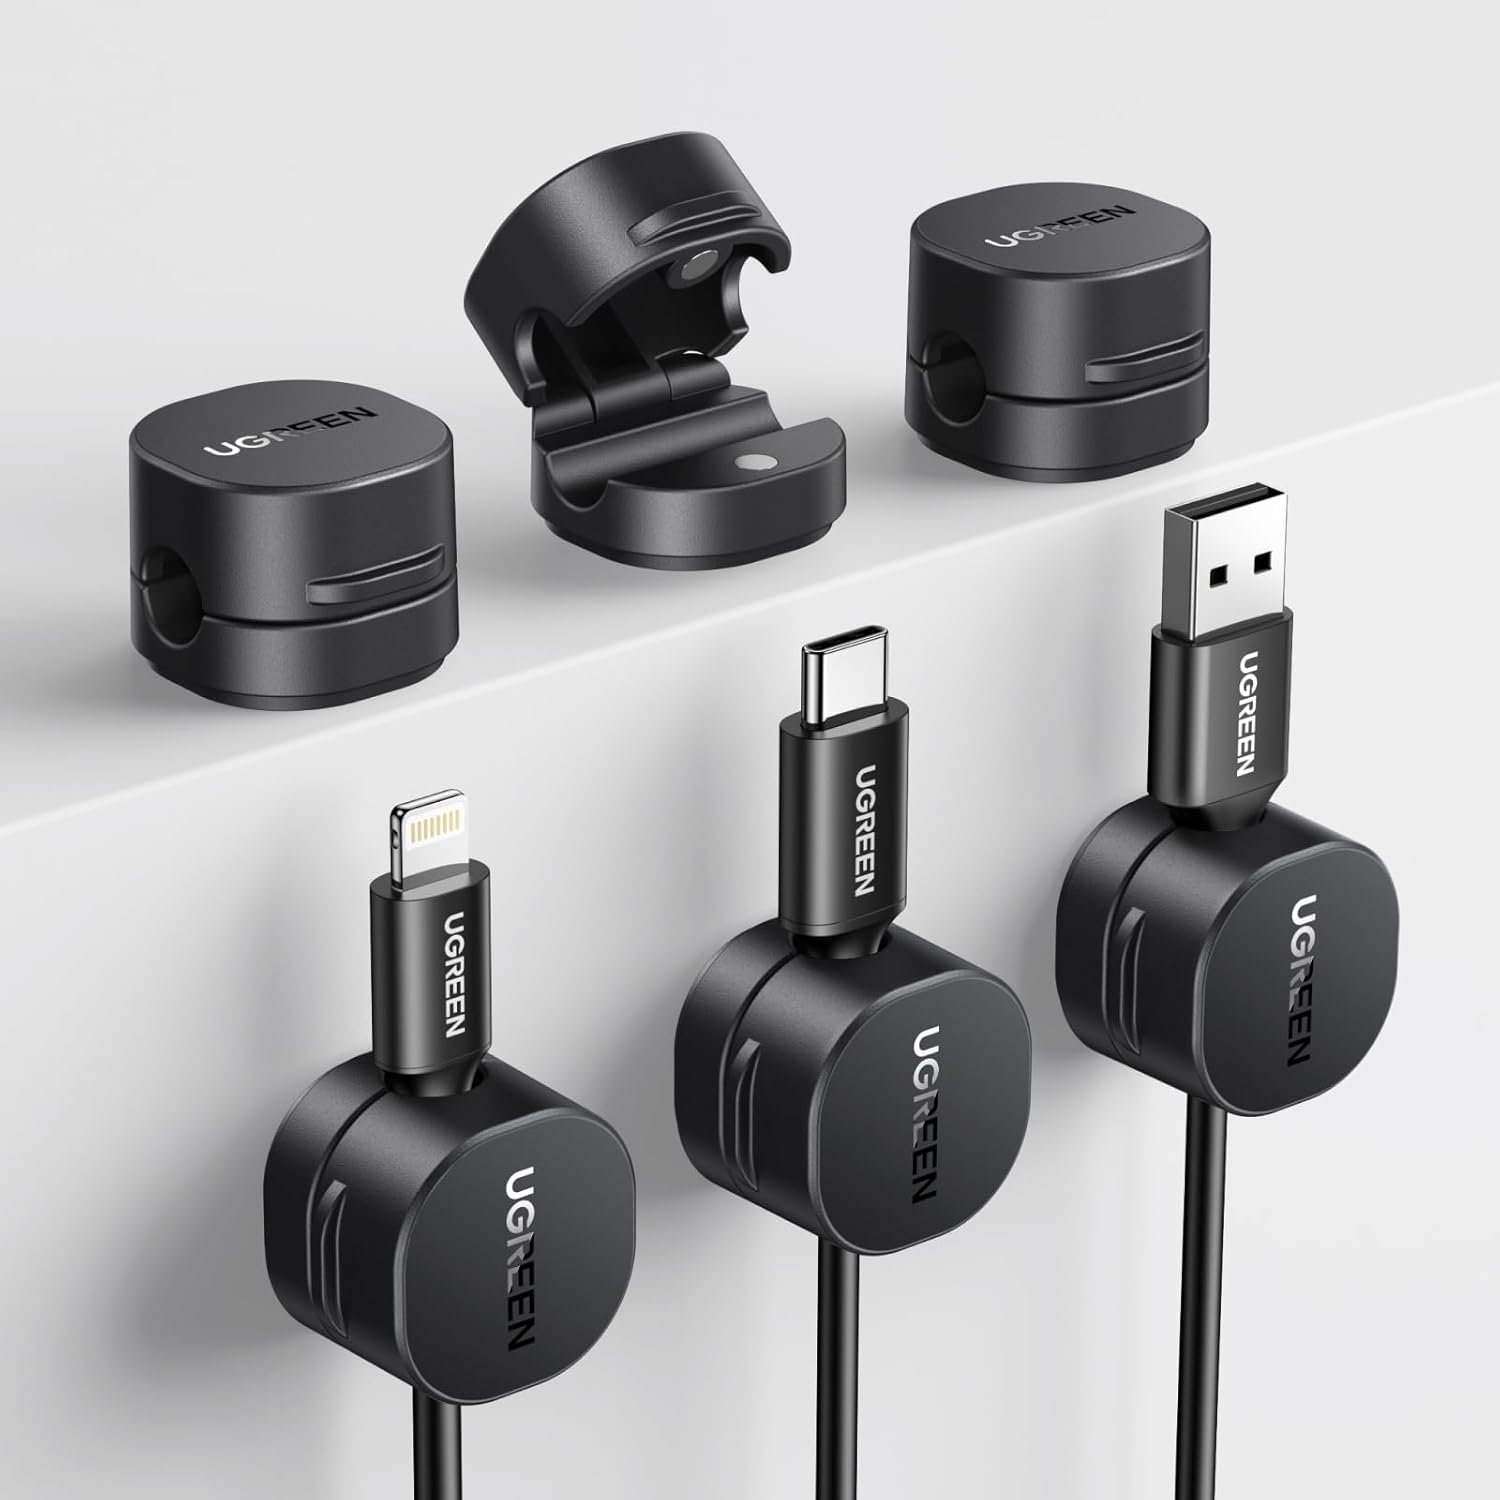
Six clips, about 25 × 23 × 23 mm each, with a 7.5 mm cable slot. Adhesive mounting base and magnetic closure.
Key features
- Adhesive mounting base
- Magnetic closure for cable access
- 7.5 mm cable slot stated by UGREEN
Useful for an everyday charging cable on a compatible surface you own. Adhesive removal may leave marks; avoid a landlord’s walls or furniture.
Accessible charging cables
Check current details on Amazon.ae
Advantages
- Keeps frequently used cables within reach
- Magnetic closure opens for cable access
Limitations
- Adhesive can affect paint or finishes
- No removal method was found in the supplied listing and manufacturer research
Adjustments for different desks
Small desks
A small desk may have little rear edge to spare. Measure the tray, the monitor-arm clamp and your knee space together. Our small desks guide lists dimensions to compare.
Standing desks
For a dual-screen setup, plan the desktop and arm positions before fixing cable routes. Our two-monitor desk sizing guide covers depth, rear clearance and layouts.
Mount the tray to the moving desktop where the clamp range allows, so the strip and most cables travel with it. Then find every cable that crosses between moving and stationary equipment. That can include the main power lead, an Ethernet cable to a wall socket or router, and display or USB cables to a monitor, dock or device that does not move with the desk.
Leave slack in each of those cables. Run the desk from lowest to highest and watch for any cable that tightens, snags or catches on the frame.
Desks away from the wall
Follow a desk leg down, then keep the route close to the floor edge. Do not hide the lead under a rug. Avoid crossing a walkway. A longer cord helps only if it lets you take a route that avoids foot traffic. If no such route exists, move the desk.
UAE renter considerations
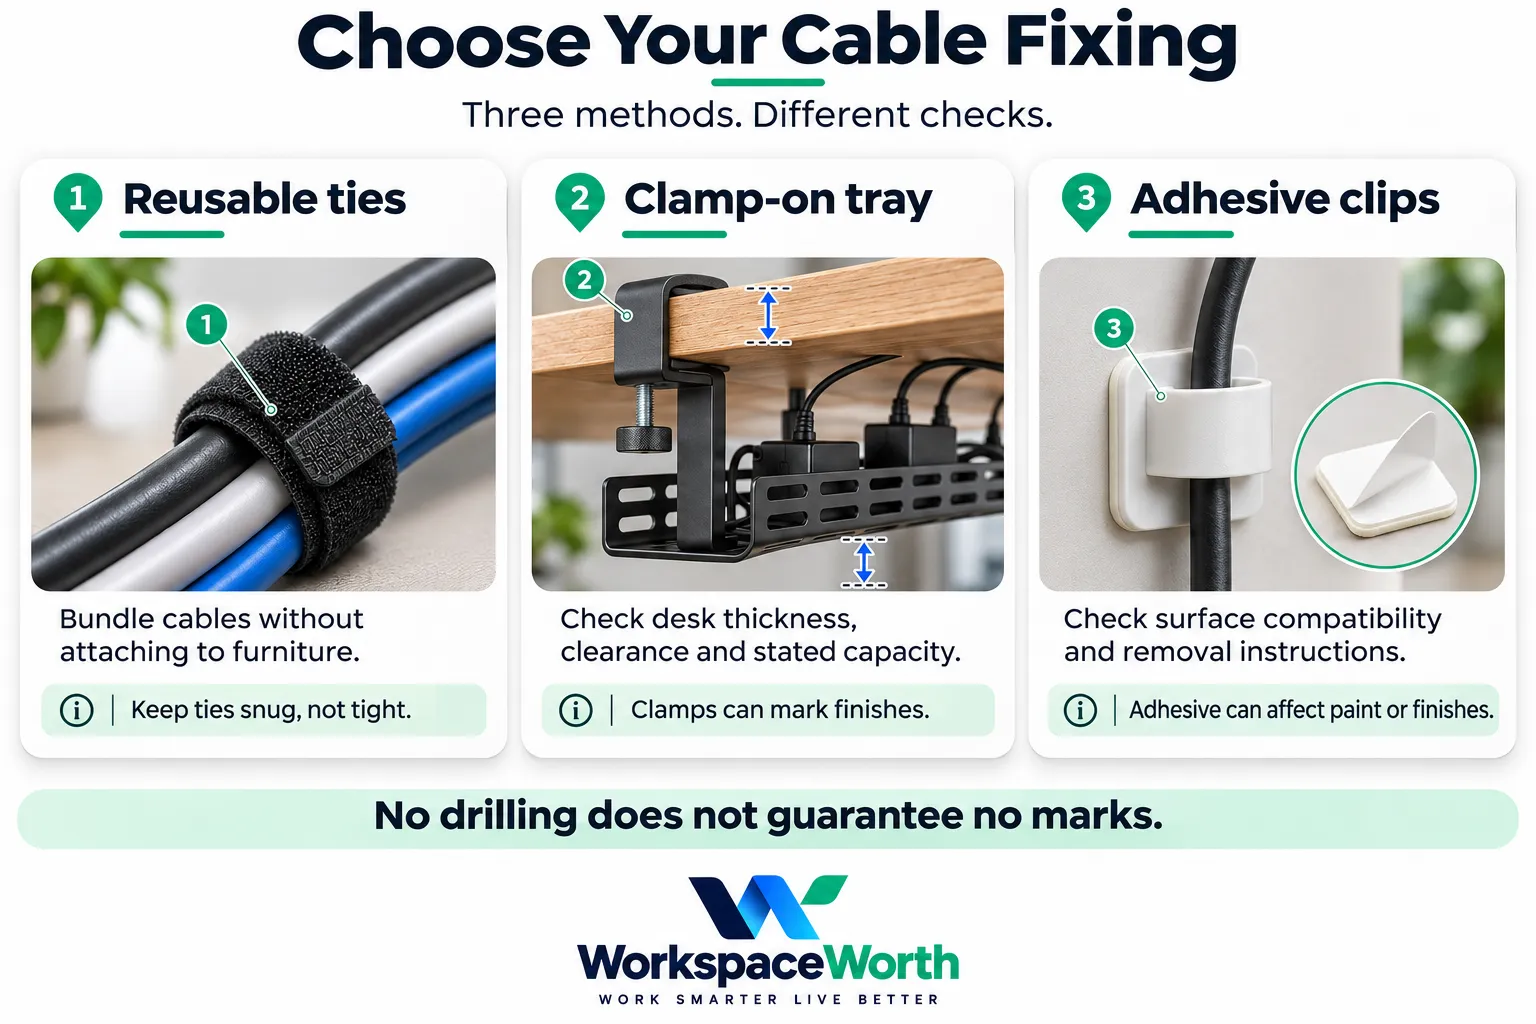
- "No drilling" is not "no marks": clamps can mark finishes and adhesives can affect paint. No accessory can guarantee your deposit or your landlord’s approval.
- Photos: photograph the desk edge and walls before fitting anything. Keep these with your tenancy documents.
- Delivery: the checks used a Dubai delivery location. Enter your own address, because results may differ in other emirates.
- Returns: measure your desk before opening the packaging, and read the current return conditions on the listing.
- Sellers and warranty: sellers vary by listing and can change. This guide makes no warranty claim, so ask the seller before relying on one.
Common mistakes
- Buying a tray before measuring the desk edge.
- Pulling ties so tight that cables bend sharply at the plug.
- Fixing adhesive items to recently painted walls without checking the pack’s instructions.
- Placing the tray where it touches your knees.
- Hiding the power switch where it cannot be reached.
Cleaning, removal and moving-out checklist
Plan removal on the day you install. For adhesive products, follow the instructions supplied with your pack for surface cleaning, waiting times and removal. Published instructions can differ by region, even for the same model number, so keep your sheet.
- Switch off and unplug everything before dusting or moving cables.
- Undo ties and sleeves first, so nothing pulls on the tray.
- Lift the strip and adapters out of the tray.
- Loosen clamps by hand, and support the tray as it comes free.
- Remove adhesive items using each manufacturer’s instructions, and do not apply one brand’s method to another.
- Compare the desk and walls with your move-in photos.
- Keep instruction sheets and spare strips together until you hand back the keys.
How this guide was researched
This guide is desk research, and no hands-on testing took place. Products were screened on Amazon.ae for price, stock and customer ratings on 5 November 2026, using a Dubai delivery location. Ratings are a screening filter, not proof of quality, so they are not quoted here.
Details come from the Amazon.ae listings and the manufacturer where available. Read how WorkspaceWorth reviews products.
Include task lighting in your cable plan. Our desk lamps UAE guide compares USB-powered options and lamps supplied with an adaptor.
Related guides
What Size Desk Do You Need for Two Monitors? compares desk widths, depths and layouts with worked measurement examples.
- Home Office Setup UAE: 7 Essential Steps for Better Fit
- Best Monitor Arms UAE: Single and Dual Monitor Options
- Best Small Desks for Home Offices in the UAE
- Best Laptop Stands UAE for Home Office Desks
Frequently asked questions
Can desk cables be managed without drilling in a UAE rental?
Usually, yes. Ties and zip sleeves need no fixing, and clamp-on trays attach to the desk rather than the wall. Check your tenancy contract before altering the property.
Will a clamp-on tray damage a desk?
It can. Clamps may mark a finish, particularly if overtightened. Use any supplied protective mats, and check the listed thickness range and desk material first.
Are adhesive cable clips safe on rental walls?
It depends on the product, surface and paint. Choose products with removal instructions, and follow them exactly. Where removal instructions are missing, use clips only on a compatible surface you own, accepting that removal may leave marks.
Can a power strip go in an under-desk tray?
The Cinati listing describes holding outlet strips. Check the strip’s own instructions, the airflow around adapters and the weight of everything in the tray before relying on it.
How much slack does a standing desk need?
No single figure suits every desk. Give every cable that crosses from moving to stationary equipment enough slack, then run the desk through its full height range to confirm that none tightens or snags.
What should happen to a tray when moving out?
Remove it by hand, check the desk edge against your move-in photos, and keep the clamp mats with it. If the desk belongs to the landlord, deal with any marks before the handover inspection.
Home office cable management: final checks
Most renters can get a tidy desk by mapping the route first, bundling with reusable ties and lifting the power strip into a clamp-on tray. Add a sleeve for the drop to the floor, and keep adhesive clips for surfaces you have checked.
Start by measuring your desk thickness and underside clearance, then choose the fixing that fits.